Followers

Sunday, July 30, 2017

SABUDANA (SAGO) KHICHDI


Sabudana khichdi is a very commonly made dish during fasts like navratri, shivaratri or various other fasts. Sabudana khichdi is also very popular in the western part of India.Sabudana khichdi is also a good breakfast or snack option.

A little tricky part while making sabudana khichdi is its soaking time. There are different types of sabudana (tapioca pearls) available in the market. Some of them require overnight or atleast 6 to 8 hours of soaking whereas some puff up only after 2 to 3 hours of soaking.

Sabudana is nearly pure carbohydrate so roasted peanuts can be added which adds a bit of protein to it. Peanuts also add a bit of crunch to sabudana khichdi. I've only added potatoes here you can also add your choice of vegetables to it to add to its nutrition value.

INGREDIENTS

1 cup sabudana/ tapioca pearls
1 medium potato/aloo chopped
1/2 cup roasted peanuts/ bhuni moongphali
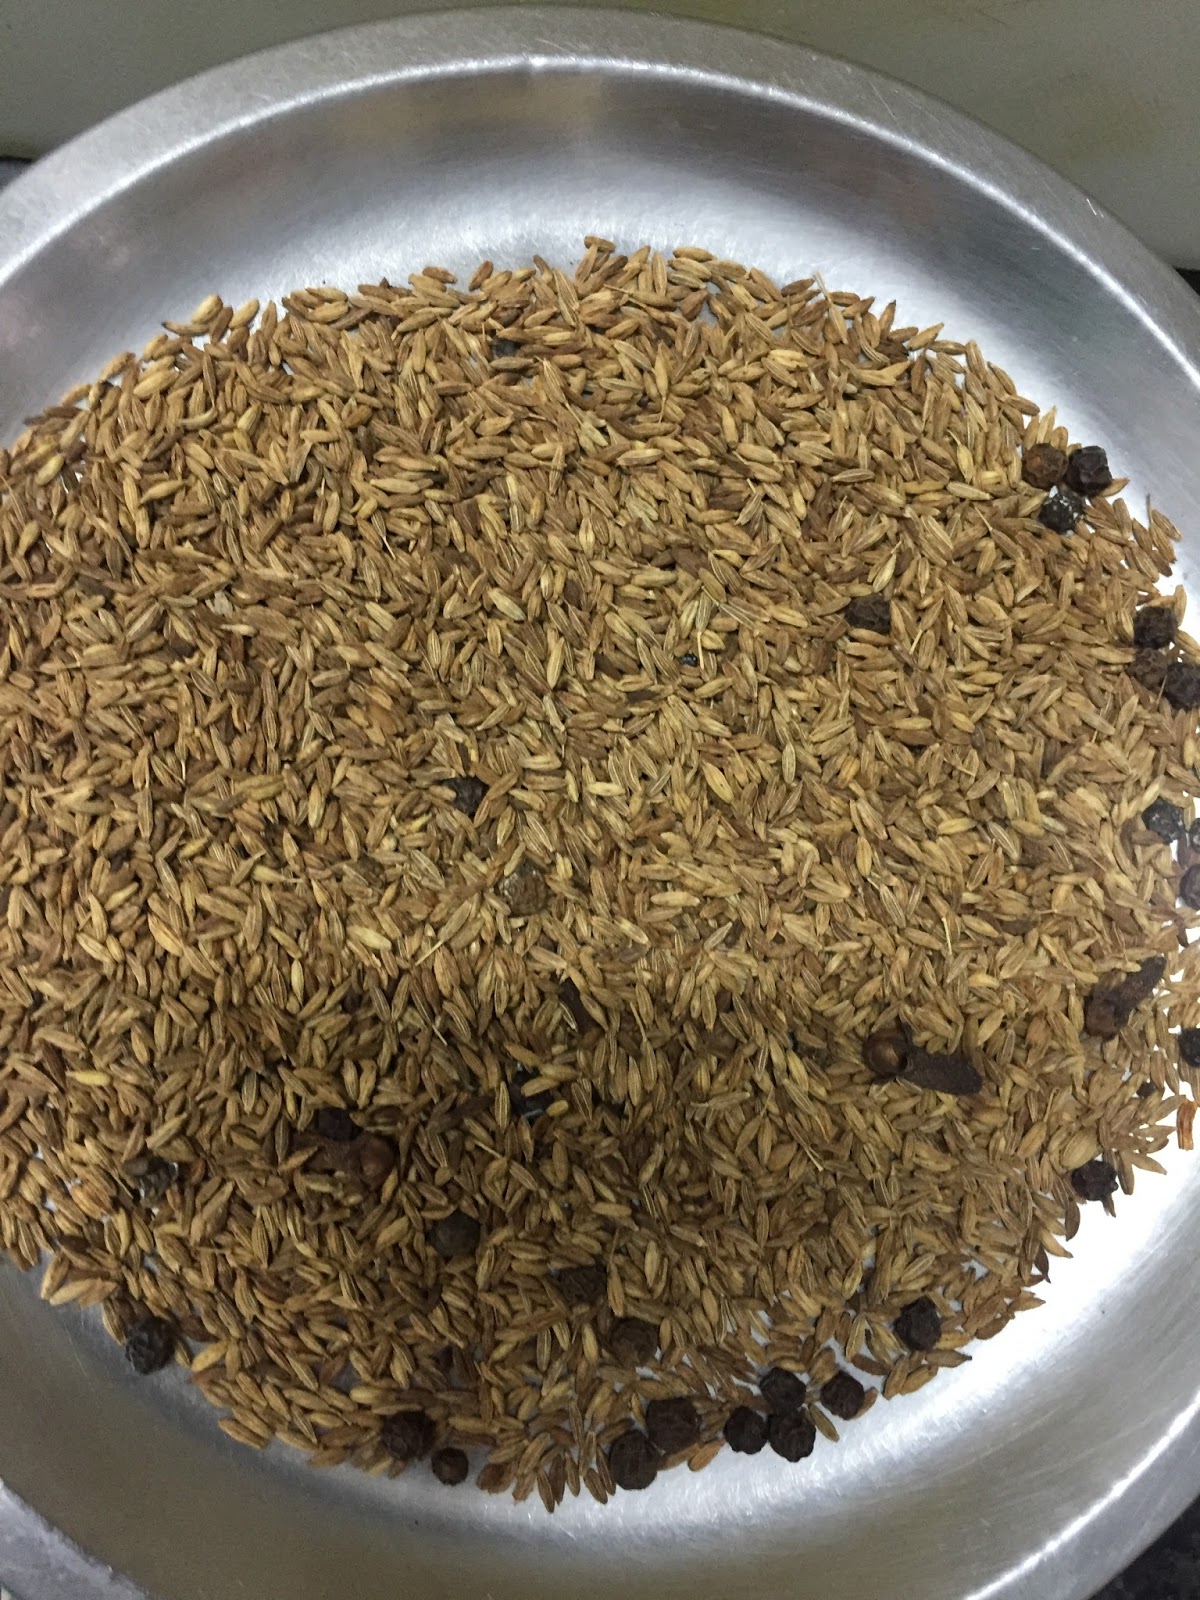
1/2 tea spoon cumin seeds/jeera
1 green chilli/hari mirch chopped
1-2 tea spoons lemon juice
1/4 cup fresh green coriander chopped
1-2 table spoons of oil
rock salt/sendha namak as per your taste (if not making for fast use regular salt)

METHOD

1. Soak sabudana for 2 to 3 hours or until it puffs up nicely. Drain the extra water if any and keep aside.
2. In a pan lightly roast the peanuts. Let them cool a bit then coarsely grind them in a mortar-pestle or a grinder. Mix them to the soaked and drained sabudana and keep aside.
3. Take oil in a pan add jeera let it splutter.
4. Add the chopped potatoes and lightly cook them. Add the green chillies.
5. Now add the sabudana and peanut mix to the pan. Mix everything nicely and cook till the sabudana becomes translucent.
6. Add lemon juice and coriander. Mix nicely. Serve hot.

PICTORIAL GUIDE

METHOD

1. Soak sabudana for 2 to 3 hours or until it puffs up nicely. Drain the extra water if any and keep aside.


2. In a pan lightly roast the peanuts. Let them cool a bit then coarsely grind them in a mortar-pestle or a grinder. Mix them to the soaked and drained sabudana and keep aside.


3. Take oil in a pan add jeera let it splutter.


4. Add the chopped potatoes and lightly cook them. Add the green chillies.


5. Now add the sabudana and peanut mix to the pan. Mix everything nicely and cook till the sabudana becomes translucent.


6. Add lemon juice and coriander. Mix nicely. Serve hot.


                               HAPPY COOKING!! 😊


Wednesday, July 26, 2017

MINT AND CORIANDER CHUTNEY WITH RAW MANGO (DHANIYA PUDINA AUR KACHCHE AAM KI CHUTNEY)


Chutneys are an integral part of indian cuisine. We all love chutneys be it with our samosas, pakoras, chaat or just as an accompaniment to our food.
Whenever I make dhaniya (coriander) chutney I add a bit of amchur (dry mango powder) or lemon to it, just to get the tanginess but when it is mango season I always make chutney with raw mangoes which makes it so much more refreshing and just so yumm.

INGREDIENTS

1/2 cup dhaniya (coriander leaves)
1/2 cup pudina (mint leaves)
1 small kachcha aam ( raw mango)
3-4 cloves of garlic (optional)
1/2 inch piece of ginger
1-2 green chillies
1/2 tea spoon black salt (optional)
1 tea spoon salt or add according to your taste

METHOD

1. Remove the stems of coriander and mint. Wash them thoroughly.
2. Peel the raw mango and chop it roughly. Peel the garlic cloves if using.
3. Add all the ingredients to a grinder jar and blend with a little bit of water to form a smooth paste.
4. Check salt add more if required. Serve with samosas, pakoras, chaat or any other snacks. The chutney can be stored in an air tight container in the refrigerator for 3 - 4 days.

PICTORIAL GUIDE

1. Remove the stems of coriander and mint. Wash them thoroughly.
2. Peel the raw mango and chop it roughly. Peel the garlic cloves if using.


3. Add all the ingredients to a grinder jar and blend with a little bit of water to form a smooth paste.


4. Check salt add more if required. Serve with samosas, pakoras, chaat or any other snacks. The chutney can be stored in an air tight container in the refrigerator for 3 - 4 days.

                                             HAPPY COOKING!! 😊

Thursday, July 20, 2017

MANGO ICE CREAM


Before the mango season ends, a quick mango ice cream recipe. This is the easiest mango ice cream recipe I came across which mainly uses only 3 ingredients. The best part is that you don't have to churn it again and again after it reaches its semi frozen state. I just mixed everything together and kept it in the freezer and it turned out to be very soft and creamy.

 This is a quick and easy recipe the only waiting time is the time it takes to freeze so you have to keep a lot of patience  before you can gobble up the soft and creamy Mango Ice cream.
Small mango chunks can also be added to get that extra mango feel. I did not add them this time but they taste really good so all mango lovers can go ahead and add small bits and pieces of mangoes after you've nicely churned it just before freezing the ice cream.

INGREDIENTS

2 large ripe mangoes
1 tin condensed milk
1 cup heavy whipping cream
1/2 cup chopped mango pieces (optional)

METHOD

1. Wash, peel and roughly chop the mangoes. Add them to a blender to blend them into a smooth puree.
2. In a bowl take 1 tin condensed milk. Add the pureed mango to the condensed milk and mix it with a spatula.
3. Take chilled whipping cream in a bowl and whip it till you get soft peaks. My whipping cream was a little less than a cup so I added a little bit of Amul cream, only the thick part.
4. Add the pureed mango and condensed milk mix and whip everything together. Once everything is mixed nicely you can add the mango pieces if using.
5. Take an airtight container, pour the ice cream into it. Cover it with a foil then close the lid tightly. Keep it in the freezer for 6-8 hours or overnight.

PICTORIAL GUIDE


1. Wash, peel and roughly chop the mangoes. Add them to a blender to blend them into a smooth puree.


2. In a bowl take 1 tin condensed milk. Add the pureed mango to the condensed milk and mix it with a spatula.


3. Take chilled whipping cream in a bowl and whip it till you get soft peaks. My whipping cream was a little less than a cup so I added a little bit of Amul cream, only the thick part.


4. Add the pureed mango and condensed milk mix and whip everything together. Once everything is mixed nicely you can add the mango pieces if using.


5. Take an airtight container, pour the ice cream into it. Cover it with a foil then close the lid tightly. Keep it in the freezer for 6-8 hours or overnight.


                          HAPPY MANGO SEASON!! 😊


Sunday, July 16, 2017

MANGO CURRY WITH COCONUT, KERALA STYLE


This is another favourite at our place during the mango season. I tasted this dish for the first time after my marriage and totally loved it.
A kerala speciality this is my mother in law's recipe and one of the first few I learnt from her after marriage. The mix of sweet and tangy flavour of this dish makes it an absolute lip smacker. I make it quite often during the mango season and now my north indian family too loves this yummy mango curry. 


INGREDIENTS

2-3 ripe mangoes
1/4 cup coconut
1/4 cup curd (dahi)
1/2 tea spoon cumin seeds (jeera)
1/2 tea spoon turmeric powder (haldi)
1/2 tea spoon red chilli powder (lal mirch)
1-2 green chillies (hari mirch)
salt to taste
water as required
sugar to taste

for tempering

1/2 tea spoon mustard seeds
1-2 dry red chillies (sukhi lal mirch)
15-16 curry leaves (kari patta)

METHOD

1. Wash and peel the mangoes. Cut the mangoes in bite sized pieces. I usually add the guthli or the seed of the mango too as me and my daughter love to it but you can discard it if you don't prefer and only use the mango pieces.
2. In a pressure cooker add the mangoes, salt, turmeric powder, red chilli powder and a green chilli.
3. Add enough water just to cover the mangoes. Switch on the gas and pressure cook it on medium flame for 1-2 whistles only. Do not pressure cook more than that or else it will turn all mushy and you will not be able to get the bite sized pieces in your curry.
4. In a jar add the coconut pieces and grind them. Add jeera, green chilli and curd to it and churn it again to get a nice paste.
5. Once you get the paste add 7-8 curry leaves (kari patta) to the jar and just churn it once.
6. Add the curd coconut mix to the boiled mangoes and bring it to a boil. Adjust the consistency of the curry, it should not be very thin. If the mangoes are not very sweet add a spoon of sugar to the boiling curry.
7. In a pan, take a spoon of oil, add the mustard seeds, once the mustard seeds start spluttering add dry red chillies and curry leaves. Add this tempering to the prepared mango curry. Serve it with plain boiled rice and papad.


PICTORIAL GUIDE

METHOD

1. Wash and peel the mangoes. Cut the mangoes in bite sized pieces. I usually add the guthli or the seed of the mango too as me and my daughter love to it but you can discard it if you don't prefer and only use the mango pieces.


2. In a pressure cooker add the mangoes, salt, turmeric powder, red chilli powder and a green chilli.


3. Add enough water just to cover the mangoes. Switch on the gas and pressure cook it on medium flame for 1-2 whistles only. Do not pressure cook more than that or else it will turn all mushy and you will not be able to get the bite sized pieces in your curry.


4. In a jar add the coconut pieces and grind them. Add jeera, green chilli and curd to it and churn it again to get a nice paste.

5. Once you get the paste add 7-8 curry leaves (kari patta) to the jar and just churn it once.


6. Add the curd coconut mix to the boiled mangoes and bring it to a boil. Adjust the consistency of the curry, it should not be very thin. If the mangoes are not very sweet add a spoon of sugar to the boiling curry.


7. In a pan, take a spoon of oil, add the mustard seeds, once the mustard seeds start spluttering add dry red chillies and curry leaves. Add this tempering to the prepared mango curry. Serve it with plain boiled rice and papad.


                                          HAPPY COOKING!!😊

Wednesday, July 12, 2017

AAM PANNA


Aam Panna is the utmost refreshing drink during summers. Once you get a taste of Aam Panna you sure would not prefer to have any store bought drinks to cool yourself.
 Aam Panna is one summer cooler that I remember having every year during summers. It keeps the body cool prevents you from heat stroke.
Aam panna is made of raw mangoes and the sweet and sour(khatta meetha) taste of Aam Panna will not let you stop after having one glass.
This is my mother's recipe that I'm sharing with you all, I'm sure you all are going to love it. The best part is it is home made and natural so  no artificial flavourings, so go ahead and enjoy the healthy and natural, sweet and sour Aam Panna.

INGREDIENTS

for aam panna
3 Medium sized raw mangoes (kachcha aam)
1/4 cup mint leaves (pudina)
3/4 cup sugar adjust according to your taste
2 tea spoons black salt (kala namak)
2 tea spoons roasted cumin powder (bhuna jeera masala)


METHOD

1. Wash and peel the raw mangoes. Cut the mangoes and remove all the pulp.
2. Take water in a pan, add the raw mangoes and boil them till they turn soft and mushy.
3. Cool the mangoes, then add them to a mixer jar along with mint (pudina) leaves and sugar.You can even add black salt and roasted cumin(bhuna jeera) powder at this point. Blend it all together to a smooth paste.
4. Pass it through a sieve to get a smooth concentrated mix. I usually add water at this point to adjust the consistency and check the taste for black salt and sugar. Some people store it in concentrated form and add water at the time of serving. You can even make ice cubes of aam panna and store them in the freezer. At the time of serving take out two cubes add them to a glass of water and serve chilled. If storing in diluted form store the aam panna in bottles and keep it in the fridge to use within 3-4 days.

METHOD

1. Wash and peel the raw mangoes. Cut the mangoes and remove all the pulp.


2. Take water in a pan, add the raw mangoes and boil them till they turn soft and mushy.


3. Cool the mangoes, then add them to a mixer jar along with mint (pudina) leaves and sugar.You can even add black salt and roasted cumin(bhuna jeera) powder at this point. Blend it all together to a smooth paste.


4. Pass it through a sieve to get a smooth concentrated mix. I usually add water at this point to adjust the consistency and check the taste for black salt and sugar. Some people store it in concentrated form and add water at the time of serving. You can even make ice cubes of aam panna and store them in the freezer. At the time of serving take out two cubes add them to a glass of water and serve chilled. If storing in diluted form store the aam panna in bottles and keep it in the fridge to use within 3-4 days.


                                 HAPPY COOKING!! 😊


ROASTED CUMIN SEED POWDER (BHUNA JEERA MASALA)


Roasted cumin seed powder (bhuna jeera masala) is a very versatile and easy to make powder at home. Bhuna jeera masala can be used in a variety of dishes to enhance the flavour. Bhuna jeera masala tastes really good in raitas, dahi vadas, butter milk, chaat, aam panna and many others.
I've learnt this from my mother and I just used to love the flavour of bhuna jeera masala on my dahi vadas. This bhuna jeera masala can be stored in an air tight container for a couple of months.

INGREDIENTS

1 tea spoon heeng (asafoetida)
2 table spoons jeera (cumin seeds)
2 tea spoons kali mirch (black pepper seeds)
1 tea spoon laung (cloves)

METHOD

For the bhuna jeera powder. Put heeng, jeera, kali mirch and laung on a tawa or iron griddle. Dry roast it till it turns light brown and you start getting a nice aroma. Switch off the gas, let it cool, grind it in a grinder and store it in an air tight container. Bhuna zeera powder can be stored easily for a few months. It can be used for raitas, buttermilk, dahi vadas, chaat and various other dishes to enhance the flavour.


                                    HAPPY COOKING!!😊