
Momos are believed to be of Tibetan origin but these steamed dumplings have come up as a favourite fast food all over the country.
Momos are steamed dumplings, where the outer cover is made out of all purpose flour(maida) and the filling commonly is vegetables or mince meat but these days we also get various other fillings like paneer, potatoes, cheese etc.
Momos are once again a favourite in my family and amongst our friends too. I make them at home using half whole wheat flour(aata) and half all purpose flour(maida) or sometimes using only whole wheat flour to make them more healthy and reducing the use of all purpose flour maida.
INGREDIENTS
for the outer covering
1 cup all purpose flour(maida) or whole wheat flour(aata) or use half and half
salt as per taste
1 tea spoon oil
water to knead a soft dough
for the filling
1 small cabbage chopped very finely or grated
1 carrot chopped finely or grated
1 small onion finely chopped
1 -2 cloves of garlic minced (optional)
1/2 tea spoon salt or as required
1/4 tea spoon black pepper
1/2 tea spoon soya sauce
1 table spoon oil


METHOD
for the outer covering
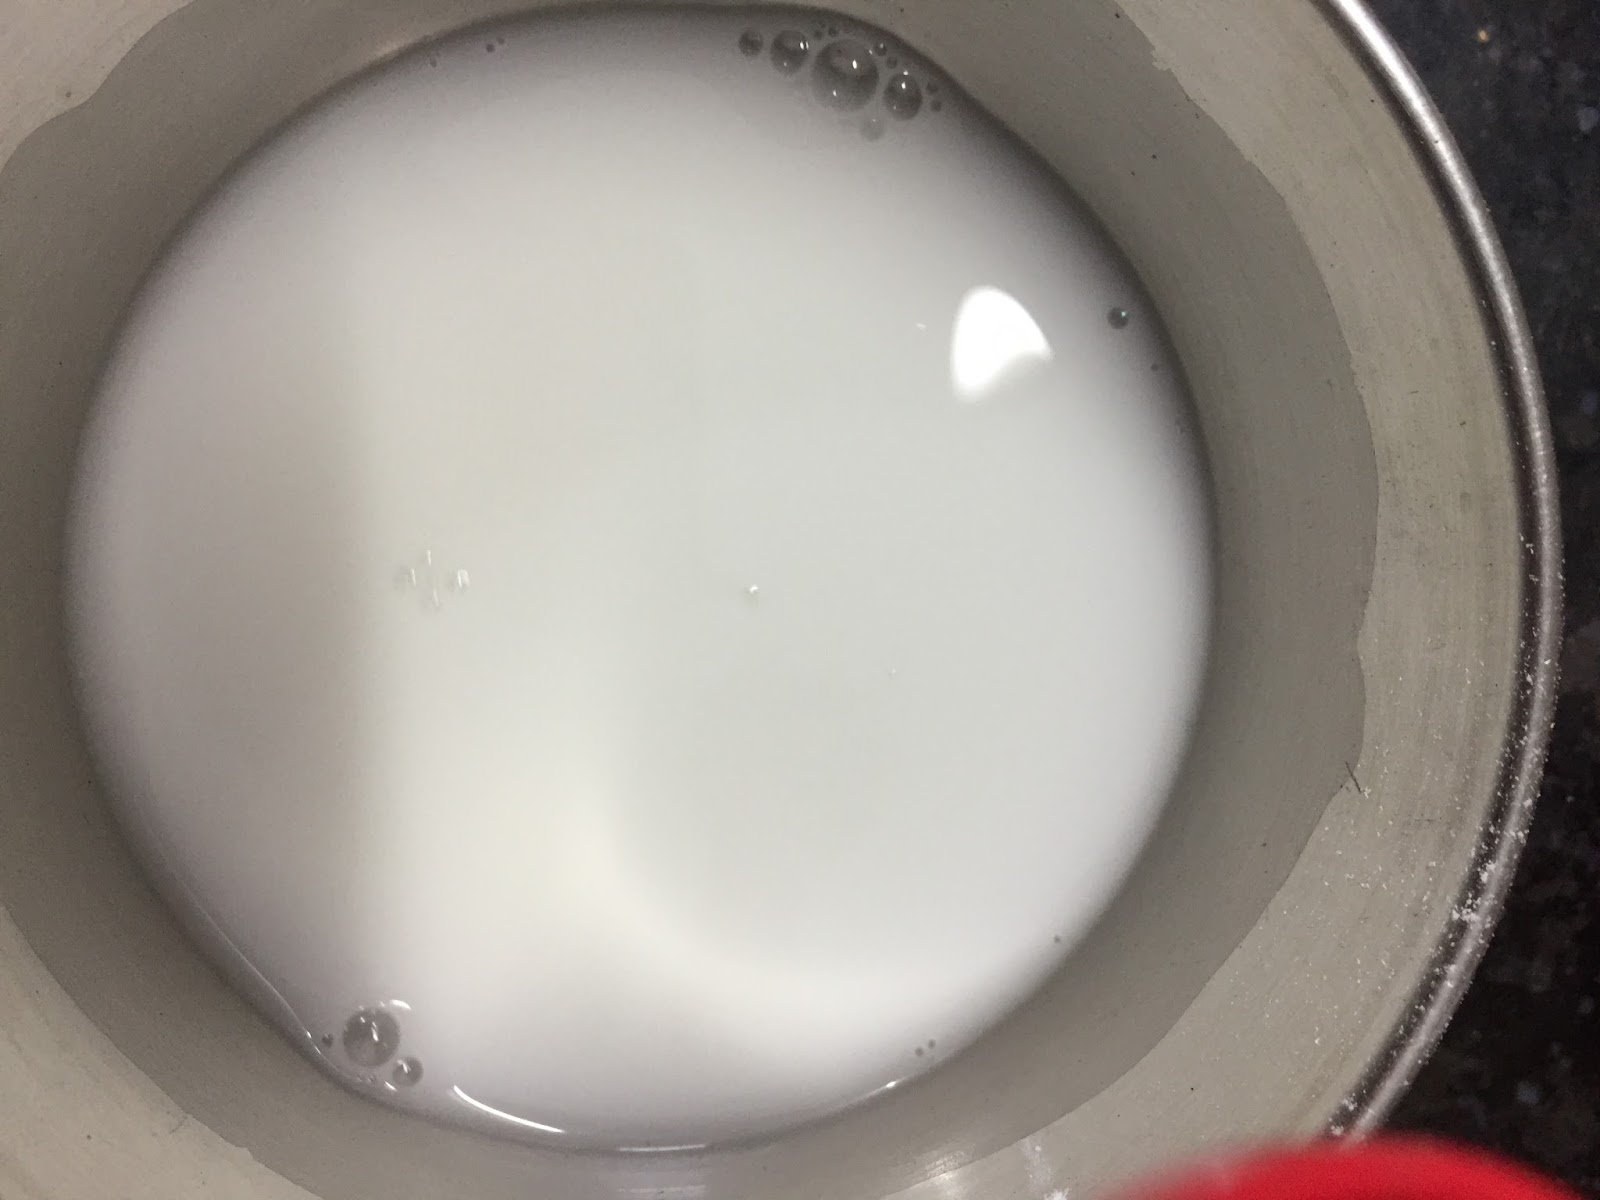
1. In a bowl take the flour, add salt and oil. Start adding water slowly to knead into a smooth and soft dough. Cover the dough and keep aside for half an hour.
for the filling
1. Take oil in a heavy bottomed pan, add garlic and saute till the raw smell goes then add the onions and saute for a few seconds, it should not brown.
2. Put the flame on high and add all the finely chopped vegetables and saute on high flame for 1-2 minutes.
3. Add soya sauce, salt and pepper. Mix well and switch off the gas.
Preparing the momos
1. Make small balls from the prepared dough and keep them covered.
2. Take the dough balls one by one and roll them into a small and thin circle.
3. Take a heaped spoon of the vegetable filling and place it in the centre of the rolled disk.
4. Start folding from the edges and bring it towards the centre. Roll all the momos this way and keep them covered.
Steaming the momos
1. If you have a steamer then you can directly steam the momos in it.
2. This time I had steamed the momos by boiling water in a big pan and placing a big steel strainer over it and placing the momos on the greased steel strainer and covering them with a big plate.
3. I've also steamed momos in an electric rice cooker by placing the momos on idli stand.
4. You can use any of the above methods, boil water and then place the momos for steaming. Steam them for 5-6 minutes.
5. Serve hot with spicy schezuan sauce or tomato chilli sauce.
PICTORIAL GUIDE
METHOD
for the outer covering
1. In a bowl take the flour, add salt and oil. Start adding water slowly to knead into a smooth and soft dough. Cover the dough and keep aside for half an hour.

for the filling
1. Take oil in a heavy bottomed pan, add garlic and saute till the raw smell goes then add the onions and saute for a few seconds, it should not brown.


2. Put the flame on high and add all the finely chopped vegetables and saute on high flame for 1-2 minutes.


3. Add soya sauce, salt and pepper. Mix well and switch off the gas.


Preparing the momos
1. Make small balls from the prepared dough and keep them covered.

2. Take the dough balls one by one and roll them into a small and thin circle.

3. Take a heaped spoon of the vegetable filling and place it in the centre of the rolled disk.

4. Start folding from the edges and bring it towards the centre. Roll all the momos this way and keep them covered.

Steaming the momos
1. If you have a steamer then you can directly steam the momos in it.
2. This time I had steamed the momos by boiling water in a big pan and placing a big steel strainer over it and placing the momos on the greased steel strainer and covering them with a big plate.


3. I've also steamed momos in an electric rice cooker by placing the momos on idli stand.
4. You can use any of the above methods, boil water and then place the momos for steaming. Steam them for 5-6 minutes.
5. Serve hot with spicy schezuan sauce or tomato chilli sauce.

HAPPY COOKING!!😊


